Create and join a studio
The essentials in 10 seconds
- 1 subscriber creates the studio and shares the link — that's the host.
- Invited musicians join free via that link, no subscription required.
- Everyone gets the same audio quality, regardless of plan.
- 5-minute setup → first session.
Host or Guest — what's the difference?
Host
The one who creates the studio
Has a Jamodio plan (Free, Duo, Teacher or Band). Creates the studio, shares the link, and their plan determines session limits (number of musicians, duration…).
Guest
The one who joins via the link
No subscription needed. Creates a free account in 30 seconds, clicks the received link, and joins. Same audio quality as the host.
Step 1 — Create an account
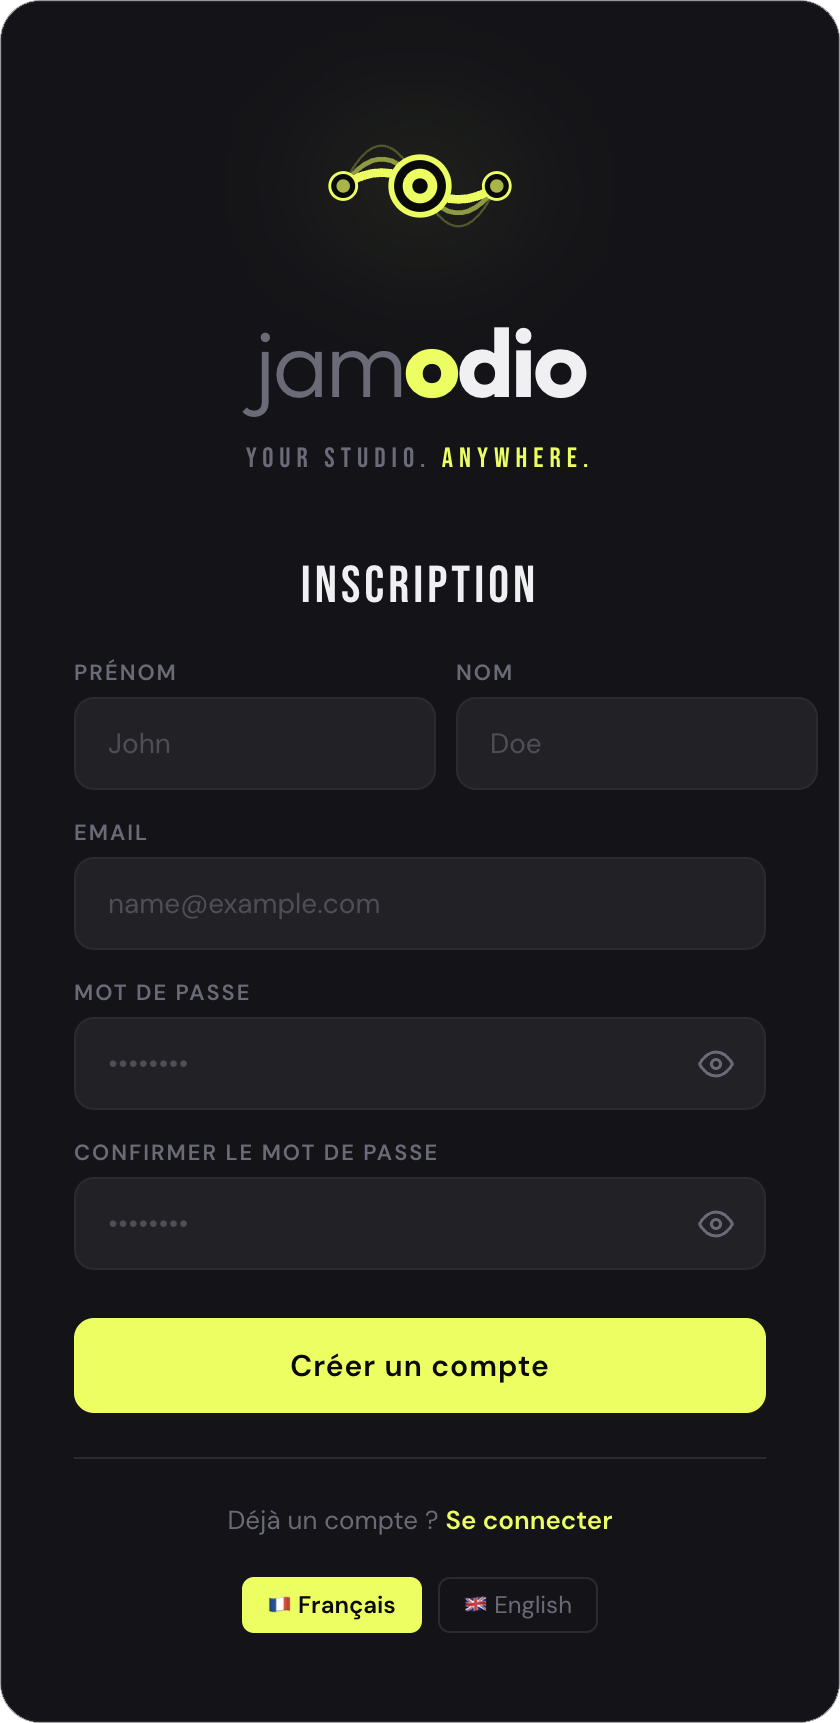
jamodio.com/app — Create your account
1
Go to
jamodio.com/appClick "Sign up". Enter your email and choose a password. A 6-digit code is sent to your email to confirm.
2
Confirm your email with the OTP code
Check your inbox (and spam folder). Enter the 6 digits in the interface. You're logged in — the session stays active on this device.
Guests: same procedure, it's free.
Your musicians create their account for free the same way. No credit card, no subscription required to join a studio.
Your musicians create their account for free the same way. No credit card, no subscription required to join a studio.
Step 2 — Create a studio (host only)
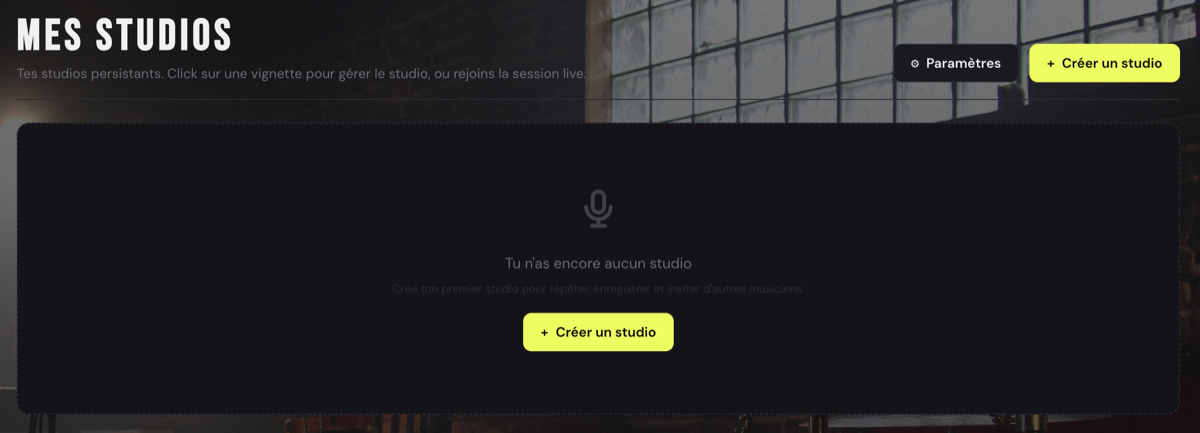
The "My Studios" view — click "Create a studio"
1
Click "Create a studio"
From "My Studios", the button is top-right (and in the center while you don't have any studio yet).
2
Give your studio a name (optional)
E.g. "The Ramones", "Thursday rehearsal". Leave blank for an auto-generated name — a unique identifier is added to share the link. Jamodio also picks the server nearest to you.
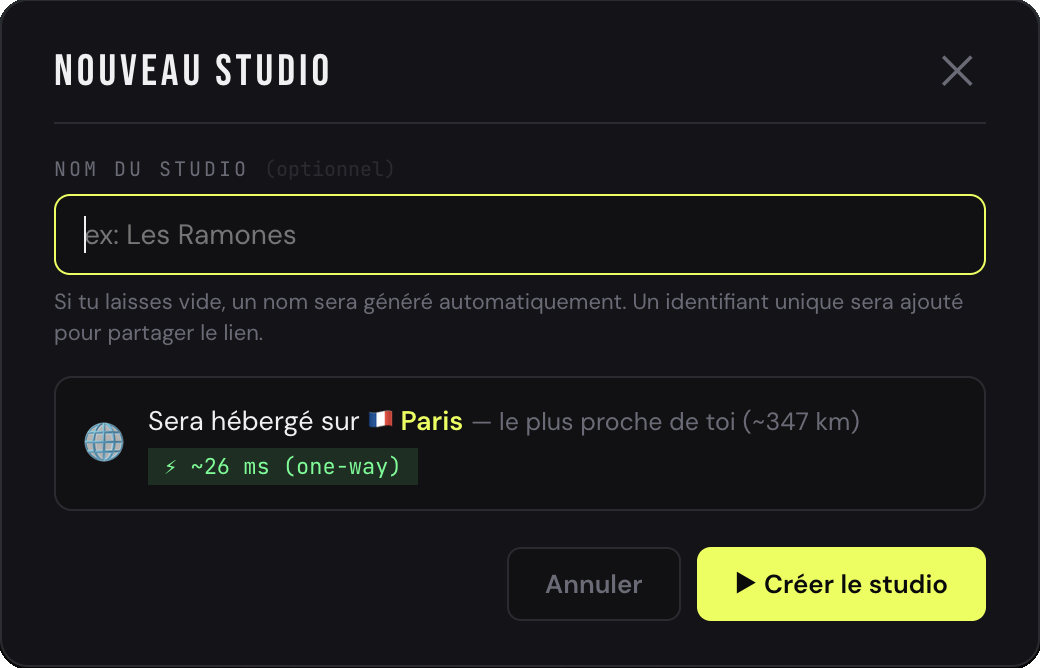
"New studio" dialog — optional name + nearest server
3
Click "Create studio"
A confirmation window appears: the studio name, its hosting server, and the link to share. Two choices: "Later" (back to "My Studios") or "Join the live session" to jump in right away.
Step 3 — Invite your musicians
Open "Members" from your studio: you'll find an invite link to copy, and a field to invite by email.
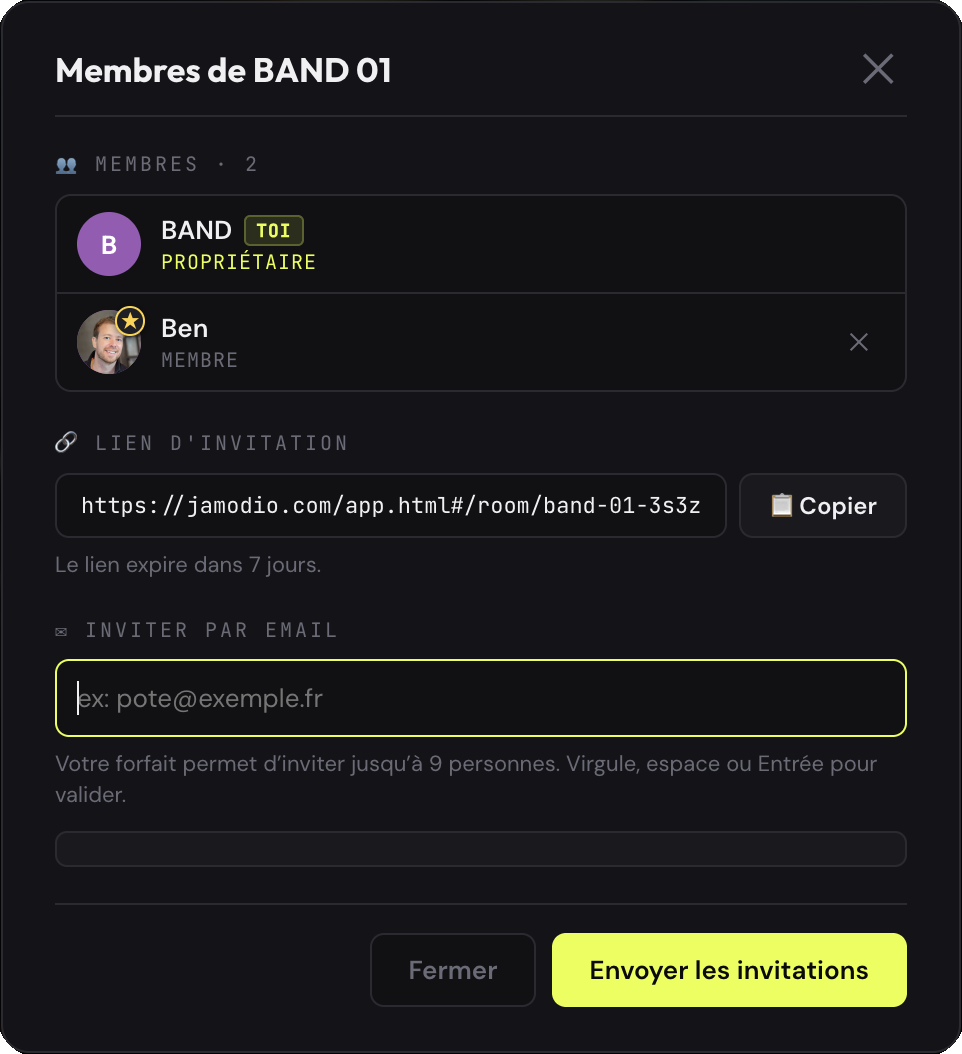
"Members" dialog — invite link + invite by email
1
Share the invite link
The link looks like
jamodio.com/app#/room/band-01-3s3z. Click "Copy" and send it via WhatsApp, SMS, email… It expires after 7 days.2
…or invite directly by email
Enter the addresses in "Invite by email" and send. Your plan sets how many people you can invite.
3
Your musicians click and join
If they don't have an account, they create a free one in 30 seconds. The studio pre-fills, then they click "Join the live session" — that click enables the microphone (user gesture required by the browser).
Already mid-session? You can also invite live via the  buttons at the top of the studio.
Find and configure your studios
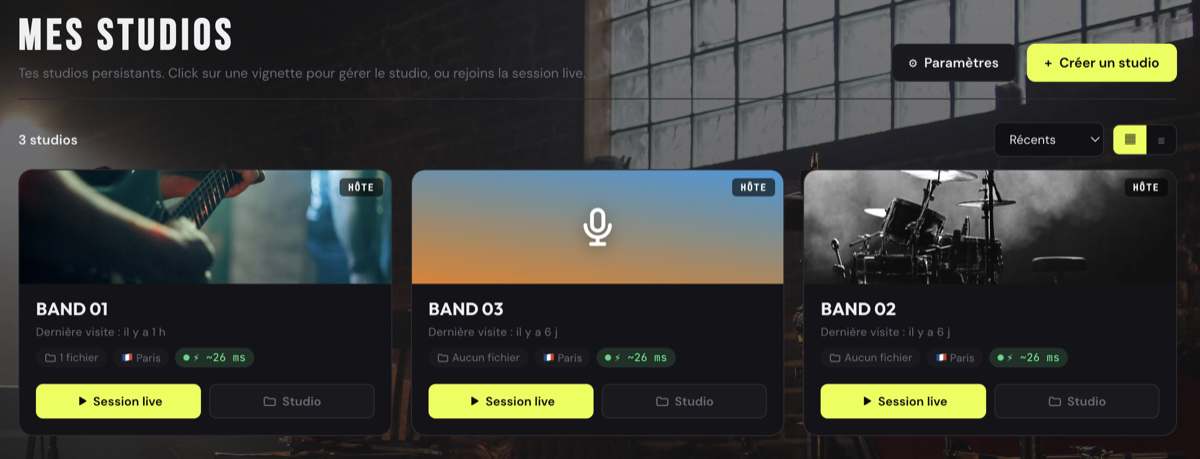
"My Studios" — all your studios, with their estimated latency
"My Studios" lists every studio you've created or joined, each with its estimated latency. On a tile, two buttons: "Live session" to jump straight into the session, or "Studio" to open its configuration.
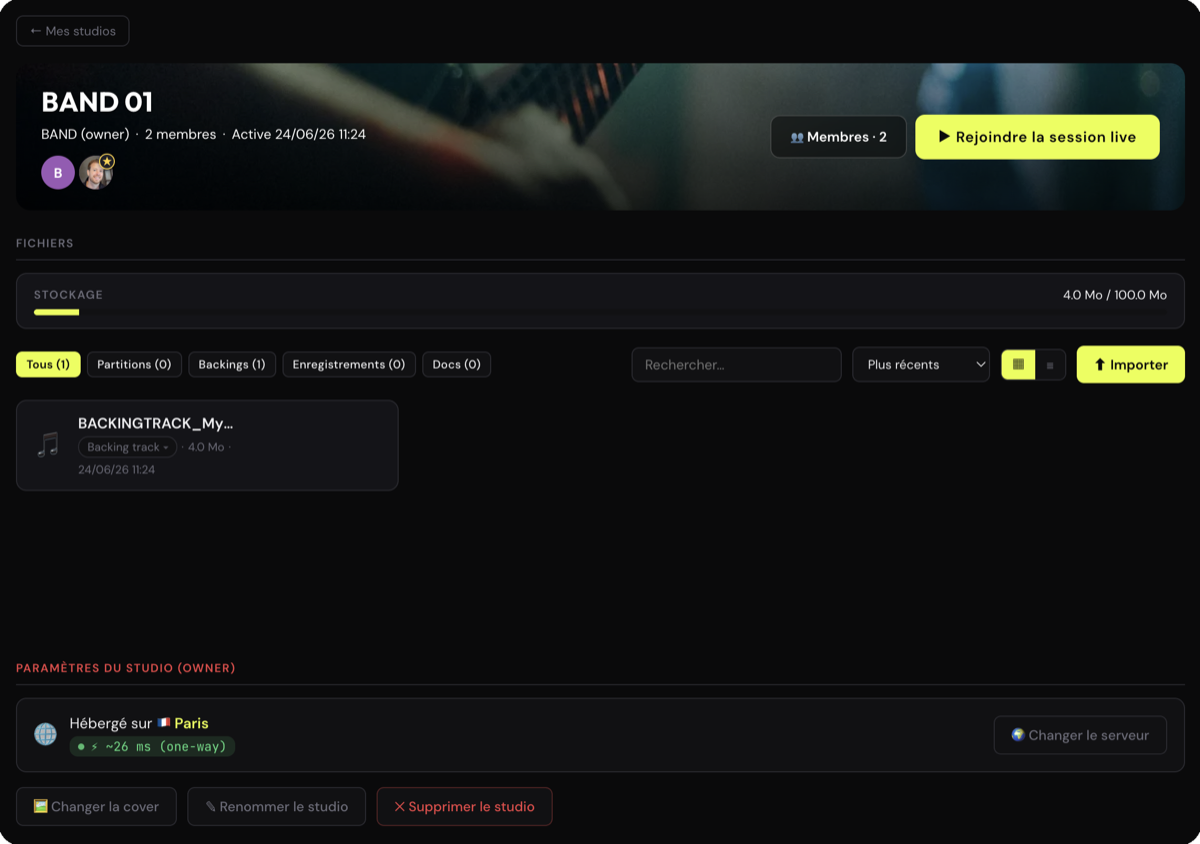
The "Studio" view — files, members, invitations, and "Join the live session"
The "Studio" view gathers the studio's files, members and invitations — and lets you join the live session whenever you want.
Free plan: sessions limited to 30 minutes.
A warning message appears 5 minutes before the end. For unlimited sessions, upgrade to Duo or higher from Settings → Subscription in the app.
A warning message appears 5 minutes before the end. For unlimited sessions, upgrade to Duo or higher from Settings → Subscription in the app.
For minimal latency: the Audio Engine (a separate step).
Independently from creating the studio, install the Jamodio native agent (Mac/Windows). Once running, the badge (green dot) appears at the top right of the app. Not done yet? → Install the agent.
Independently from creating the studio, install the Jamodio native agent (Mac/Windows). Once running, the
badge (green dot) appears at the top right of the app. Not done yet? → Install the agent.
First-session checklist
- Account created and email confirmed (OTP code)
- Studio created with a memorable name
- Link copied and sent to musicians
- USB audio interface plugged in → why it matters
- Ethernet plugged in → Ethernet vs Wi-Fi
- Jamodio agent installed and active (green Audio Engine badge) → install the agent
- Wired headphones plugged into the audio interface